
Deconstructing photography styles: Brandon Woelfel
I am starting this series with a photographer that is very appreciated on Instagram. He built his name using an individual style that appeals to many, and especially to the young generation: Brandon WoelfelI really like it too: the colours, the fairy lights, the bokeh, the dreamy feel, the sleepy messy look, the glasses.In the search for your own style I advise to look to others, test, practice, repeat, get inspired and then move forward with at least one lesson learned. Experimenting with different techniques is what can get you closer to finding your own voice.So let's see what analysing Brandon's images says about how he's creating cohesive and brilliant content, and how we can learn to portray a similar feel.
Low light

Brandon Woelfel low light
To obtain a complementary style to Brandon's you need to shoot in low light. Don't remove light completely as the props might not be enough to illuminate the model. Try shooting at dawn or dusk or on a moderately lighten street.The way you ca deal with the low light is:
up the ISO - which means there will be some grain in the final image. No worries! noise is part of his style. You also need a camera that can handle a high ISO.
lower the aperture number - which actually helps with the bokeh. To achieve this a prime lens would be the best choice. (For example a 50mm 1.4 or 1.8)
Props

Brandon Woelfel props
If you look at most of the images Brandon Woelfel has on his feed there is a clear predilection towards objects that either reflect or create light. Take some props to your shoot: mirrors, glasses, something sparkly, water, fire, glitter, a prism, bubbles.Beside these there is a certain vibe his photos are portraying: stylish, hip, cool, urban, young, fun. All this using certain modern elements such as: polaroids, hats/caps, large frames, cool colours, graphic Tees, jeans - for getting a collage look.Wear the props or use them in front of the lens or as a play item, there are no rules. His images are about having fun with friends in a cosy/friendly environment.
Bokeh
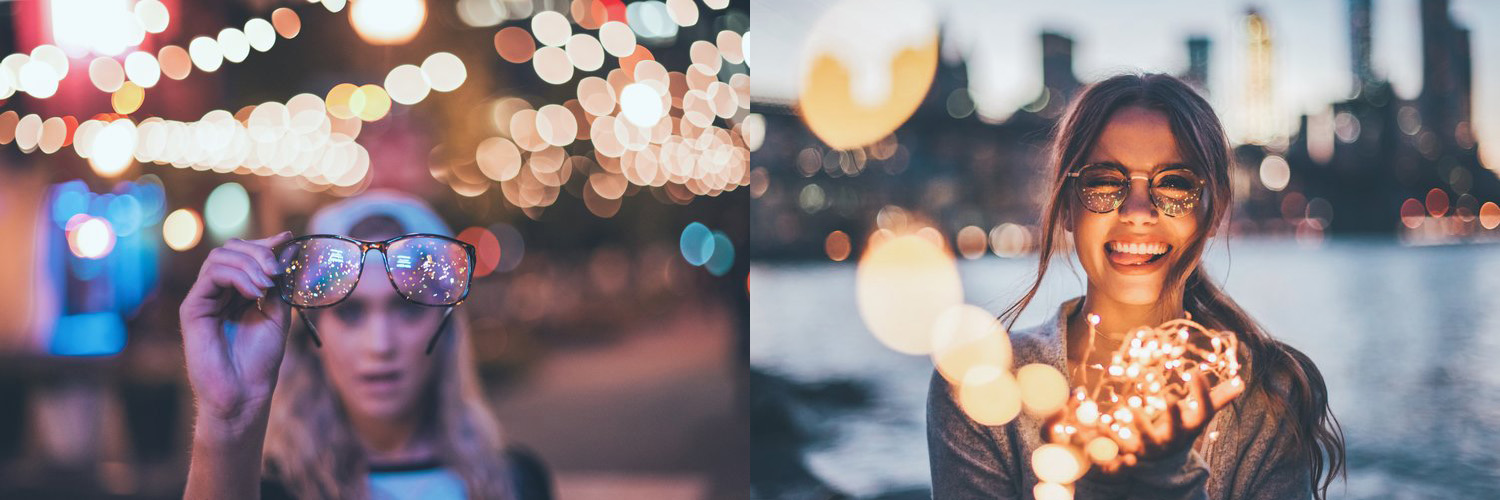
Brandon Woelfel bokeh
I believe Brandon Woelfel is the best example of how to use and do bokeh. Those blurry lights in the background, and in the foreground, and all around, look beautiful. Besides taking the photos in low light and using the props you also need a small aperture number. Brandon's foreground and background have a nice bokeh which means he focuses on the subject(which could be either a person or and object) with a 1.4 - 2.8 aperture. Make absolutely sure you have lights in the shot (street lights, city lights, fairy lights) somewhere behind the model. Also if you have fairy lights you can hold some in front of the model, closer to the camera to create that big light blobs. Using a large aperture not only helps with the foreground blur but works well if it's only an arm length from the focused subject!
Post processing
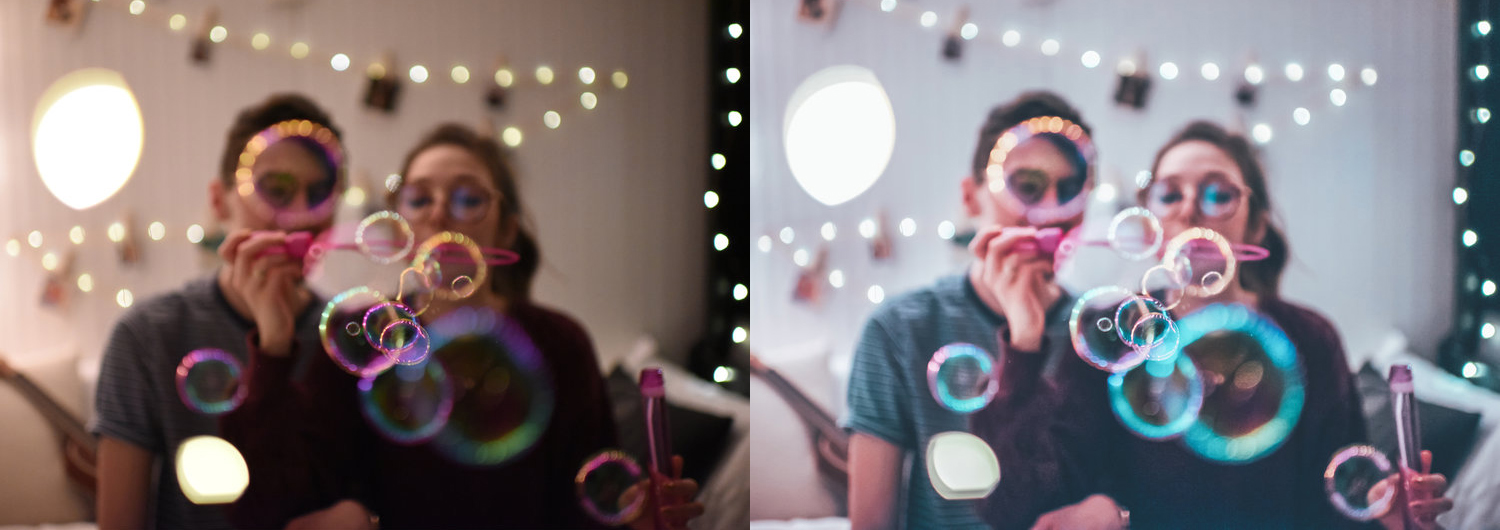
Brandon Woelfel post processing
Like with most low light, underexposed images you need to allow some time for post processing. Sometimes the colours are changed to offer variation. The main palette remains similar and cohesive with muted blacks, cool whites, bright highlights and increased saturation on a number of colours. In his images the whites tend to have a blue tint and the enhanced tones are: turquoise, aqua, pink, blue, azure. Some of the fairy lights and bokeh can be multiplied in photoshop using cloning and Brandon Woelfel doesn't make a secret of it. He shares some of the before and after images on his Instagram stories and also on his website. This is helpful as you can have a feel of what the image should look like before the editing process and how much it they can change using the right tools.
His style is inspiring, yes! but don't get caught up in it for too long as it will slow you down from finding your own...Good luck

Family portrait sessions

Happy family
Family portrait sessions are a new venture for me but one that I have been interested in getting into for a while. Compared to the portrait and couple photoshoots they are more exciting, funny and even a little bit chaotic.Here are some of the lessons I had to learn when it comes to outdoor family portraits.
What's your name?

brother and sister
This might not be as important but if you are like me, you might want to ask the names of everyone and memorise them before the shoot. This way it would be easier to prompt different people and get everyone to be involved when needed. I must admit I am not great at remembering names when I first meet someone.
Location, location, location

dad and kids
Make sure you check the photoshoot location beforehand. Think about lighting and shadows and what would be best to set as background. Think of the poses and where would they go better. Make a list in your mind (or on paper/phone) and don't forget to have ideas for both an overcast day and a bright sunny day! I can't stress enough how important it is to know where the shoot will take place. When there are children involved is best to be prepared in all the areas you can. And don't forget they like to run around so keep safety in mind!
Timing is everything

Brothers
When I want to talk about timing I don't mean being punctual: you should be there before anyway! I am referring to choosing the right hour for the shoot! The right time of the day can depend on weather, sun light, clouds, season and even events.Makes sure the light is not too harsh - it's not easy to always find the right tree or building to shoot under and direct sunlight may cause unflattering shadows in portraits.If you already know the location (which you should) check if there are any events going on or construction sites open when you are shooting - we don't want people staring or ruining the background.If it's not an overcast day, and sun is shining bright then think about the famous Golden Hour (right before the sunset) or shoot from a lower angle so the sun is behind the people and expose for shadows. (and don't forget a lens hood)
Focus on what is important

the family
When there are many people around and you are switching between shooting kids with dad and then kids with mum and so on, focus on what's in front of the camera. It's easy to get distracted by the cute child running behind you while you are shooting the parents, but it's best to notice the lens flare or the bin at the right of the frame, or that the camera didn't focus the first time.I recommend using the Continuous Shooting Mode to get at least one shoot with everyone's eyes open. And use a higher aperture than the 1.8-2.8 of a standard portrait session :)

Creating a preset in Lightroom
I have a youtube channel!!! I have been thinking about this for a while now and finally recorded my first video. It is a short tutorial on how to create your own preset in Lightroom. And it's for beginners. Nothing too complicated, just moving some slides :)Presents can enhance your work and give another dimension to your images. They are very useful when dealing with batches of images from the same shoot, or when you want to give a similar style to most of your photos.I have noticed that Lightroom presets are being used widely and many artists and studios are even selling their own.Some of the most popular are:
But these presets are a tasteful and stylish combination of colours, settings and treatments applied to your image straight from Lightroom. So I thought: why not make my own? And so can you!Basic tips for creating your own Lightroom preset:
Don't overdo it - a preset should be easily applicable to most images just by tweaking them
Find your favourite tone - warm or cool
Select the image style and either fade or increase contrast

Copenhagen

Copenhagen bike

Canal in Copenhagen

Statue in park
In June I crossed off another country of my list: Denmark. We chose beautiful Copenhagen with it's colourful canals, edgy districts and billion bicycles.The city felt very cool and relaxed, people enjoyed the sun sitting across the canals in groups, chatting after work hours.It surprised me how different it was from the other places I visited. And this is mostly due to the lack of tourists snapping photos and getting in your way, it's not an overflowing city, not fast or overly busy, it's easy to get around, easy to talk to people (everyone seem to know English) and easy to find a nature oasis even in its centre.
My favourite findings

Copenhagen canal
The food - I recommend trying the open rye sandwiches. Supermarket have them in little plastic packs. They really know how to do lunches and the combination of ingredients is different but really works.

Open sandwich
The canals - a relaxed vibe, beautiful and colourful buildings and the option to go on boat rides around the city, underneath low and high bridges to see parts of its architecture.

Nyhavn canal
Tivoli Gardens - amazing entertainment, fun rides and vintage looks. The amusement park is a must see! Planning to write a future blog post just about it!

Tivoli Gardens
Christiana - I don't have a picture here, because it seems to be a dangerous place for photographers, yet it's a portrayal of "Make love not war" vibe. It's so different for it's colourful buildings and interesting history. What impressed me the most it's that it has it's own laws, a free zone for all .. as long as you don't take a picture :P
The towers - during the trip we also visited some of Copenhagen's tallest towers that offer beautiful views of the city.In conclusion Copenhagen is a capital city that I could actually see myself live in.

Copenhagen from above

The photography tag
Today's post is a bit different, I discovered this Photography Tag on youtube and thought to give it a try in writing.
How did you first get into photography?
I always was fascinated by how people can transform and capture what is in front of their eyes and evoke a feeling to any viewer. When I was 14 I got a cheap film camera as a present but didn't quite understand how it all worked, I also kept borrowing my sister's point and shoot. Later, in university, was when everything started. My parents, after some convincing, decided to buy me my first DSLR camera. I didn't know which one to get so I joined a photography club in Cluj-Napoca where I met these amazing people that advised me and became my friends.
What was your first camera?
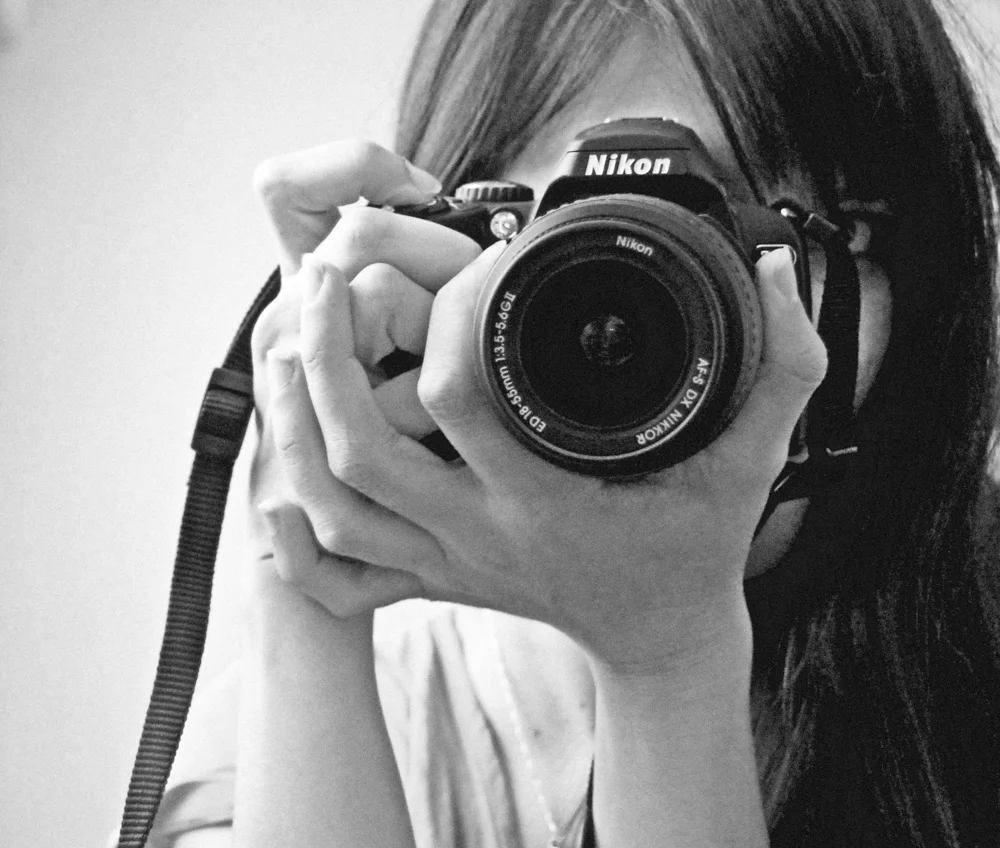
Nikon D40
My first camera was a Nikon D40. It was a decision based on budget, available options and one advice from the photography club members: "Nikon is the best!" ... just joking !! What they said was: "Get the camera brand your friends photographers have. This will allow you to borrow lenses and try different gear before investing"
Who are your photography heroes and inspirations?
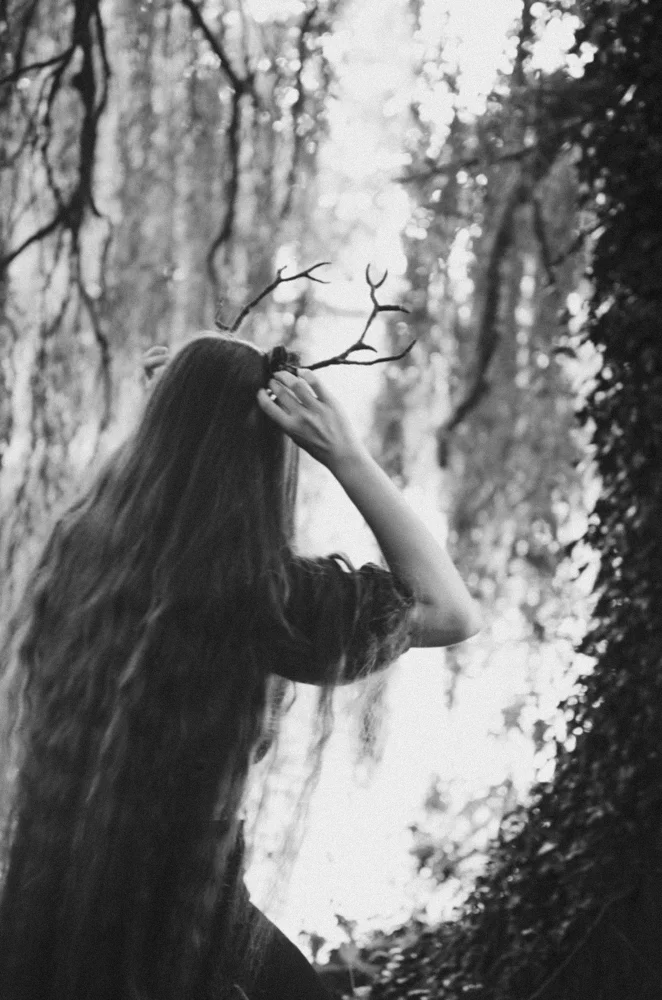
Forest fairy
Oh such a difficult question. I keep listening to this great podcast: Be Inspired Photography Podcast and all the guests get asked this question: "What is your favourite photographer of all time?" I always wonder do I even have one?! .. I'm inspired by so many of them, and they don't even have to be big names .. actually if I'm honest I don't even know most of the big names (which I'm a bit embarrassed by). I will mention a few:Jessica Kobeissi - she's such a strong funny hardworking person! My vision of editing might be different from hers but I just really like what type of person she is.Lara Jade - beautiful fashion photography I wish I had her success and courage to take risksLaura Makabresku - Her style is unforgettable, and I would like to have that impact.
What does photography mean to you?
I find this also difficult to answer. When I'm behind the camera ..it's more like a feeling. And feelings are difficult to put into words. Words feel limiting so I tend to avoid questions like this. What I know is that when I am taking photos I'm like in a bubble of joy and calm, I can't feel the cold or the rain (Unless the camera is getting wet then I get a bit concerned). And another thing I noticed is that I see photo opportunities everywhere, I see framed images everywhere and I think I am more aware of what surrounds me.
How do you overcome photographers block?
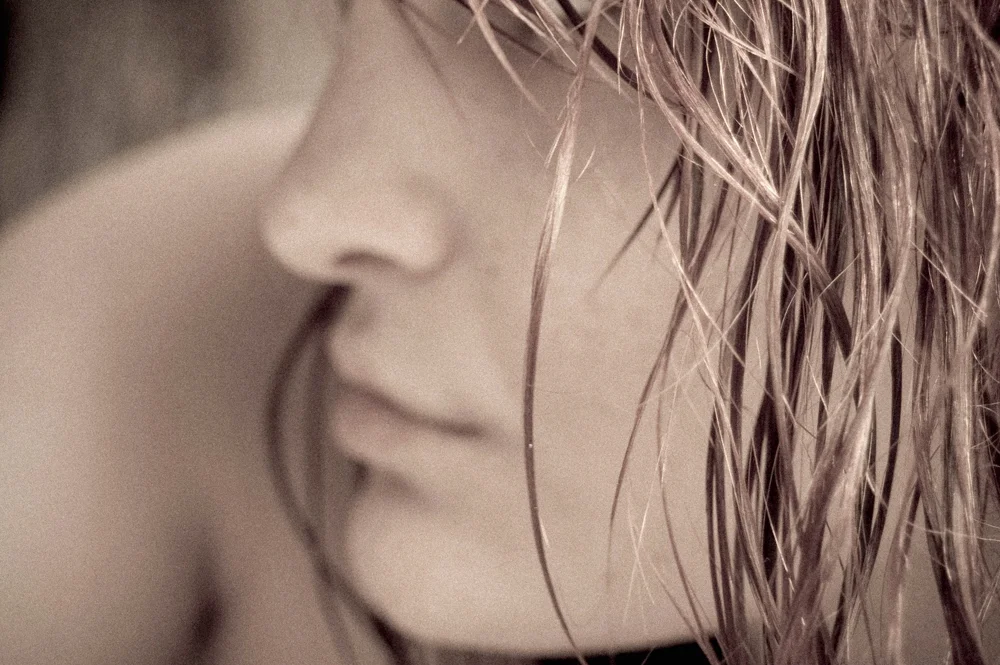
Thought Selfportrait
I need some alone time, time to breath, to just lay down somewhere and think. My motivation comes also from seeing other photographers showcase their work, share their behind the scenes. I recommend creative live website as it has great workshops with great artists that can remind you why you love photography and kick your behind into gear.Besides that I get inspired by other images, browsing through Instagram, seeing beautiful photos, or any type of art can spark an idea.
Tips for noob photographers?
Go out and shoot, anything, everything, decide which gives you more pleasure, what do you have an eye for.
Read the camera manual and understand camera manual settings.
Always shoot raw
Copy images to learn techniques but don't claim them as your own, or at least link to the original artist.
Ask questions
If you had to shoot just one genre, what would that be?
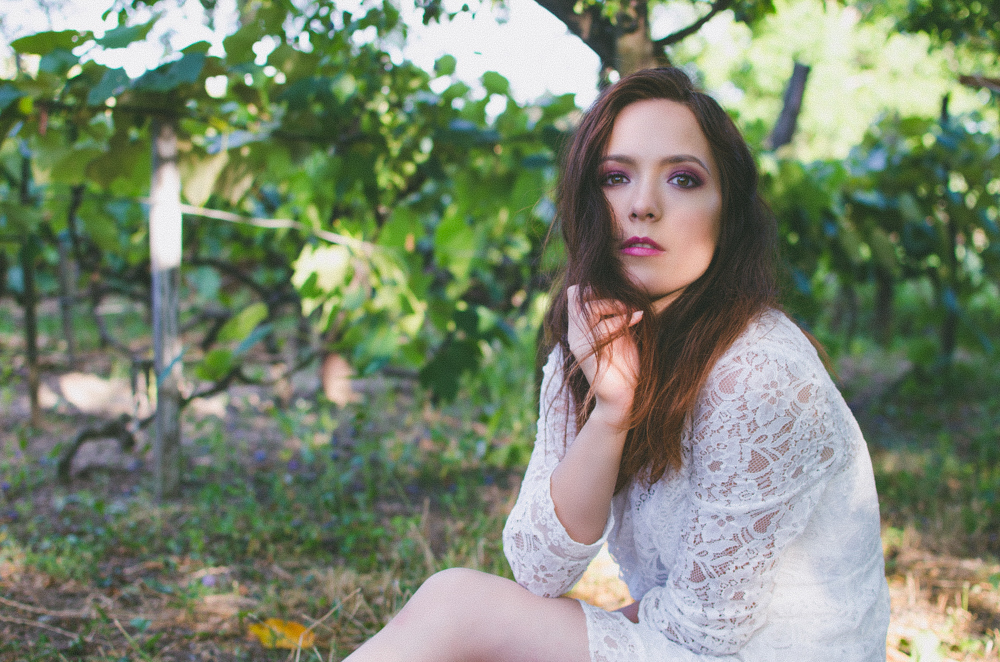
Fashion Portrait
Oh such a difficult choice .. I will have to say people, beauty portraits, fashion photography. But it's also quite a difficult type of photography to shoot for due to my nervousness around new people. I am aware of it and push myself .. it gets better every time. Repetition teaches your body and mind how to succeed.
Any photography pet hates?
Too much retouching - you know when you are just slide the saturation or contrast too much?! Or think that blurring and removing all skin texture and all shadows will make a portrait look better? That!
Copying - I just don't like people copying someone else is work. Or my work, my ideas, my words and I don't know what to do about it. It takes a lot to calm myself when things like that happen especially when someone you know is doing it.
Any photography faux pas?
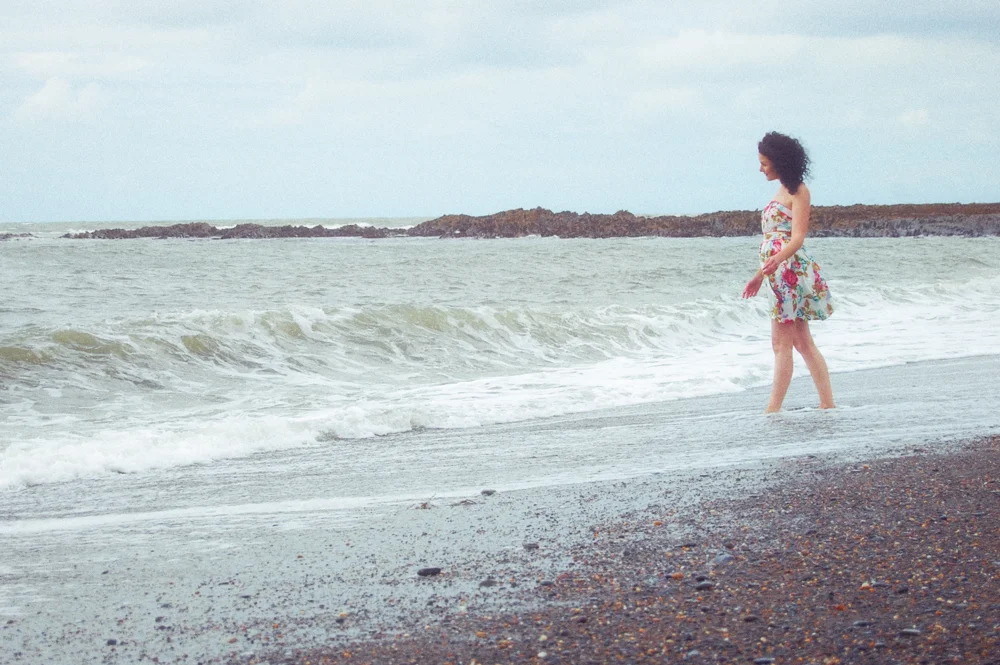
Girl and the sea
I am not sure if I understand this question very well but here are some examples of what I think is photography faux pas:
I had this amazing shoot with my beautiful aunt, on a beach but the day was quite dull and the light was not great, and I shot all of it in jpeg. This was 5 years ago and I still regret it but it taught me a valuable lesson: Raw is best!
After a first shoot with a model I never met before, while editing the images I realised my SD card was corrupted and a lot of the images where unusable. After the initial scare I realised the thumbnails looked ok meaning a jpeg version of the file could be recovered with some command line coding magic (thanks Software engineering degree).
When I was younger I used to edit too much, I was learning photoshop and had a crazy obsession with changing eye colours, lip colour, and backgrounds .. most of times leaving the image look very fake and unappealing.
Faceless Portrait - week 7
Week 7 of project 52 brings something a bit more exciting, it let's you be creative and opens up a lot of options. I really enjoyed the faceless portrait theme. My model was my wonderful boyfriend who waited patiently and posed as per instructions. It was Valentine's day so I think he wanted to be nice. Most of the times he doesn't have the patience for this.
 Usually a faceless portrait is created either by focusing on other parts of the body, by making your model turn around, by covering their face, or hiding it into shadow and creating a silhouette that holds no details.
 I feel like these type of portraits are more conceptual and give the viewer the opportunity to create their own story. They can't really see the model's face and what feeling it portrays. I enjoyed reading this article about The Faceless Portrait as an advanced type of portrait photography.For this week I chose the following image as the best for the theme.

Candy - Week 6
I can't say the 52 photo project is going amazing but I am keeping up. In this post I will continue where I left off: Candy and week 6. This was a tough one and didn't had a lot to choose from.I tried making my own candy using a lollipop recipe. Photo not great ..and candy not great either (sticky and too sweet). I'm definitely better at baking. I tried inverting my lens (here is a little tutorial) and creating a super macro of sugar granules. And this was the best image of the week in my opinion. I used my 50-200mm Nikkor inverted and held on to the camera with my hand (no reverse lens adapter to help).

 And I also tried a little product photography of Raffaello, one of my favourite sweets.
 To be honest I'm not a big candy lover .. but I will always go for some chocolate cake or Baileys ice cream from Haagen Dazs ;)
Bucharest in winter
I love traveling and there is so much to see in the world! But .. I have to admit that I haven't seen enough of my home country, Romania, and bit by bit I try to change that. Having a partner that loves to travel and who doesn't know much about Romania helps. I love to show him my culture and traditions and beautiful places. This time we visited the capital, Bucharest on our winter holiday. What better way to find great accommodation, full of charm and at affordable prices then the AirBnb website!? We loved our apartment: right in the centre of the city, with a beautiful view, light and airy rooms and super close to all the shops and main attractions.
 Of course the view from our AirBnb was perfect for some night photography as well and I held my camera outside the window trying not to move for a long exposure(a bit risky).
 We visited the Old Town streets, The Art Museum, The AFI Palace Mall and indulged in delicious Romanian cuisine in places like:
- Food and tradition and entertainment: Vatra (pricey)
- Amazing service: Caru' cu bere (always busy)
- Best coffee I had in a while, especially the espresso: Filicori Zecchini (it's in Afi mall)
- Books, tea, healthy food: Carturesti Library
 Bucharest's architecture is a collection of fancy 19th-century Belle-Epoque-style and modern office and bank buildings. The general feel is quite eclectic, combining different cultural and historical styles. I can definitely say that most Romanian cities are similar, a mishmash of new and old, colourful and grey.


 Also every other street seems to hide a beautiful orthodox church built in what is now known as the Wallachian(Romanian) Renaissance style.
 The House of the People, also known as the Palace of the Parliament it's said to be the world's largest civilian building with an administrative function. There were a few busses and tourists in front snapping away the impressive landmark and I waiting around in the chilly weather for them to pass before doing the same :).
 I found two other articles that describe this interesting city and I think you will enjoy them(they also have very pretty pictures):
Black and white - week 5
Week 5 theme has been: Black and white landscape. As I go through with these I find landscapes definitely the most difficult to shoot or at least the ones I'm less satisfied with. I don't want to say that it's the place I live in cause that would be silly .. it's really a combination of factors. With landscape you need to be patient, to know the maps and places, to wait for the right light and time, maybe even visit the location on multiple days, notice the changes in colours and weather and what it does to the final view. Also for me landscapes are about nature, and you can't control nature.
 I have to mention here one of my favorite photographers and an amazing black and white landscape artist: Ansel Adams. His images are well known around the world and he didn't even have the convenience of post processing or clarity, contrast and exposure sliders.With black and white photography, shape and contrast are what I looked for. The image I chose as representative for this week's theme is the one in the header of this post. I have used Lightroom for post processing trying to enhance the sky and its patterns. You can see the colour original here.I notice yet again that I tend to prefer wide negative space in my photos, look at that sky!
Headshot - week 4
I've been so busy lately and have fallen a bit behind with updating my blog regarding the 52 week challenge. It's going well by the way! I'm at week 7 now but will continue on the blog where I left off: the headshot for week 4.I was lucky enough that lovely Alex, an acting student here in Cardiff, wanted to have some new headshots. I felt this week's theme was quite easy, if one takes into consideration the definition of a headshot, you can have a winner image just by following a few rules:
- Use a wide aperture lens that can give you a lovely blurred background and make the subject stand out. (I used my 35mm 1.8 lens but heard that the 50 and 85mm are amazing too)
- Focus on the eyes, make them spark and stand out (I struggled with this one a bit, not sure if it's my eyes or the lens who weren't cooperating)
- Find good light either in the shadow of a building or in the studio or shoot on an overcast day (which ended up being my choice whether I liked it or not ... me living in Wales and all)
- Keep it clean, a classic headshot is normally used for marketing oneself, and it has to represent realistically their appearance.
 Even if I did think it is quite straight forward I ended up researching it quite a bit to see how the professionals do it. Loved reading the following articles: Setting Up a Successful Headshot Session Part 1, Part 2, Part 3. And I love Dylan Patrick's attitude, professionalism and results!

During this week I also found a new way of editing skin and I'm obsessed with it - it's called Frequency Separation Retouching.As you can see in the images, the skin looks very clean and fresh, still keeping its pores and its natural texture. One little problem: the technique works best with a headshot at good resolution, with skin that has clear texture(no blurry images). Also if dealing with other skin imperfections a combination of this and other techniques might be needed: patch, healing brush, dodge and burn etc. Her skin was beautiful already and the editing only really enhanced the image and removed any pigmentation or uneven tone. The final headshot was the one selected for the week's theme, I just loved her smile and youthfulness. How about you .. which one would you pick?